Algorithm: Optimized PDF Web Page Print Layout
I’d like to share my efforts to prevent page breaks in the middle of paragraphs and maximize the use of page space when printing web pages to PDF. I’ll outline how this PHP+NodeJS+Chrome tool and algorithm accomplish this.
The motivation is to prevent pictures from being cut off, cut halfway through, or from being pushed to the next page because they don’t fit on the current page. This algorithm does this by making micro adjustments to the whitespace on the page to give more room for a page-straddling content block (e.g. paragraphs, pictures) at the end of the page.
If reducing the whitespace alone is insufficient, then the other content blocks on the page are slightly reduced as well in an attempt to make a page-straddling content block fit. I’ve used the term content block, and I define it as non-contiguous whitespace over a certain threshold, say 1em or about 16px. The tool first takes a full page screenshot of a print-ready representation of a given web page (similar to a print preview), slices that tall screenshot into sections of non-contiguous whitespace (e.g. paragraphs, pictures), and the algorithm attempts to layout the rasterized blocks back into letter-sized pages as space-efficient as possible. Here is a sample result from this site.
How the tool and algorithm work
Take a full-page screenshot
First, with headless Chrome under NodeJS, a full-page screenshot is taken after setting Chrome to use print-emulation mode1. This should trigger the screen media styles if they are present.
Chrome is pretty versatile, but has a limitation on how big the canvas can be, and I’ve found that to be 16,384px2 as of Chrome 60. My solution to this problem is to use a smaller viewport, say 4096px, save part of the web page, then shift the viewport down, save this other part of the web page, and so forth. The sections would then be recombined into a very tall screenshot3. If you are wondering how a web page could exceed 16,384px, it’s because one more trick in getting sharp web page captures is to set the zoom factor higher than 1.0. I use a 2x or 3x zoom.
Slice up content
Next, using PHP and ImageMagick, all the contiguous whitespace in the screenshot can be found. I like to set a contiguous threshold as being greater than the spacing between lines. Then you can capture paragraphs, pictures and the like, and avoid slicing up individual sentences.
Here’s a performance tip: instead of scanning pixel-by-pixel, row-by-row and setting a flag when you find over 16 or so all-white rows to indicate you’ve found a large whitespace block, resize a temporary copy of the image into a 1px-by-Npx image. That is, resize the image into a single column; 1200 white pixels in a row will compress to a single white pixel. If there is anything else in that row, then the result will not be a white pixel.
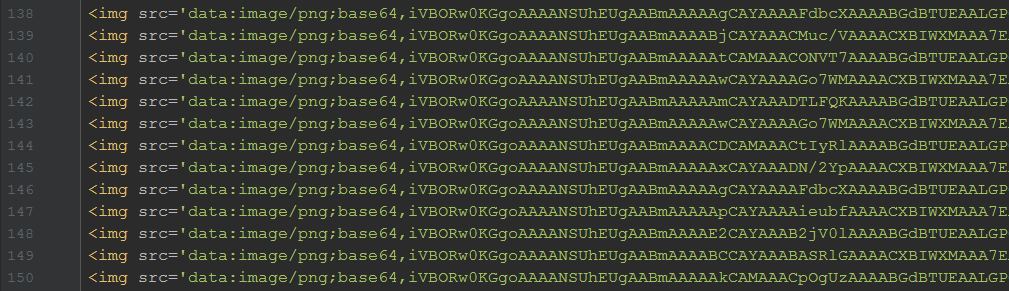
This drops our algorithm complexity from O(N2) to O(N1)4. Invert the slices so they are of contiguous content. Record the height of the whitespace between each slice, and save both the whitespace slices and content slices as either files on disk, or as data-uri strings. I prefer the latter.
Layout the slices in pages
Here is where the algorithm begins. Using JavaScript/jQuery, the slices can be arranged in letter-sized <div> blocks in an HTML harness.
One-by-one the image slices (both content and whitespace) will be added to the first page until a slice crosses the boundary between the first and second <div> blocks. Actually one of four cases can occur: 1) the images fit perfectly in the page, 2) whitespace crosses over to the next page, 3) content crosses over to the next page, or 4) there aren’t enough slices to fill the page. The third case is the most interesting.
Resize whitespace and/or images
In the third case, first check by how much the content slice crosses over to the next page. If it is only slightly over, then perform a calculation on how much the strips of whitespace on the page will need to be reduced by in order to fit this final image. If the reduction is within an acceptable limit, say 10% of their original size, then reduce the whitespace by precisely the amount needed to snugly fit the final content slice. The example on the right shows a proportional resizing of the whitespace to fit that last picture in the page. For illustration purposes both the width and height of the whitespace slices have been reduced.
We can be more aggressive by also reducing the size of either the last content slice, or all the content slices in the page, by a small amount, say at most 5%. This, in combination with the the whitespace shrinkage, gives more room for the final content slice to fit.
If the final content slice still does not fit, then ignore the previous calculations, perform no resizing, and place the crossing slice into the next page and start the process again. The other three cases are trivial to deal with. This is essentially the crux of the algorithm.
Save to PDF
Earlier I gave a tip about increasing the zoom factor when taking the initial screenshot. This is useful for printable PDFs. Higher resolutions slices yield better print quality much like retina images look sharper on standard displays. The over-sized slices will be reduced to fit the 816px width of letter-size paper (8.5in @ 96 dpi = 816px). For example, an 1800px-width image slice of paragraph text scaled down to fit is going to look a lot crisper than a native 600px-width one. Note, however, pictures cannot be enhanced with the zoom trick, only the HTML-based text.
Once the pages have been vertically laid out, taking into account margins, and all the slices have been positioned by the algorithm, NodeJS+Chrome can be used again to save the new web page into a PDF. This is much like right-clicking, clicking print, and saving to a PDF in a normal browser.
Compress the PDF with Ghostscript
The rasterized slices are still quite large and can be compressed. Once the PDF is saved, there is a Linux tool called Ghostscript or gs5 that can compress image slices contained in the PDF.
1 2 3 | gs -sDEVICE=pdfwrite -dCompatibilityLevel=1.4 \ -dPDFSETTINGS=/$device -dNOPAUSE -dQUIET \ -dBATCH -sOutputFile="$out" "$file" |
Where $device is one of the following:
1 2 3 4 5 | -dPDFSETTINGS=/screen lower quality, smaller size. -dPDFSETTINGS=/ebook for better quality, but slightly larger pdfs. -dPDFSETTINGS=/prepress output similar to Acrobat Distiller "Prepress Optimized" setting -dPDFSETTINGS=/printer selects output similar to the Acrobat Distiller "Print Optimized" setting -dPDFSETTINGS=/default selects output intended to be useful across a wide variety of uses, possibly at the expense of a larger output file |
Caveats
I’d like to forewarn you that it takes some effort to set up headless Chrome, control it programmatically via PHP including launching and terminating it, and deal with its canvas size limitations2. Debugging NodeJS scripts is not straightforward like debugging PHP scripts, especially when they hang unexpectedly. GraphicsMagick is superior in memory handling compared to ImageMagick, but only ImageMagick has the pixel-level manipulation ability at this time. There are times when IM will run out of memory on large pages, so clever slice-stitching methods may be needed versus holding all the slices in memory. One last tip is to keep Chrome running between PDF jobs versus opening and terminating it on each PDF in a batch.
Why not use CSS for page breaks?
A simpler solution would be to use print media CSS like page-break-after and page-break-before to properly control page breaks. In practice I’ve found that this worsens the use of page space by adding more unfilled pages. For example, dynamic pages with hard page breaks can introduce more partly used pages.
Results
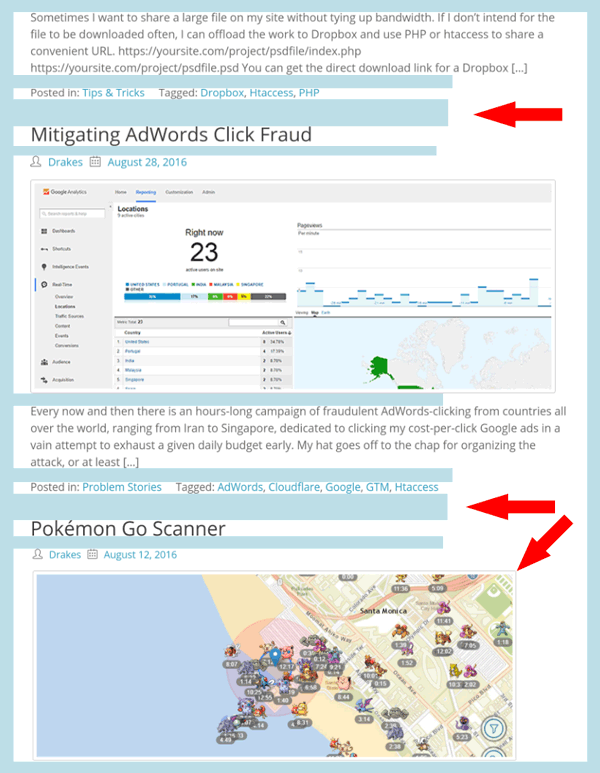
I’ve been able to produce impressive PDFs that look nicely laid out, have crisp text, and are small in size for emailing to clients. In production I’ve been able to reduce 8MB PDFs to ~3MB PDFs using this method. This has resulted in not needing to create PDFs in PageMaker or Lucidpress by hand (saving time and money). Since the PDFs are generated with a combination of PHP+NodeJS+Chrome, they can be generated on the fly, and the original HTML can vary in its data or price charts, for example, to provided different data to different customers quickly. I’ve been able to process a couple hundred ~8-page web articles in just a few minutes with this technique6 in a VM environment.
Notes:
- https://stackoverflow.com/a/44513335 ↩
- https://stackoverflow.com/questions/44599858/max-height-of-16-384px-for-headless-chrome-screenshots ↩
- Most use cases involve vertical scrolling, so the tool is designed around this use case. ↩
- If you exclude the image compression operation, which is fast as it is done in native C++. ↩
- I use heredoc when I construct Linux commands to avoid escaping quotes. That’s why there are variables like
$outand$filein this example. ↩ - I apologize in advance, but I’m not going to be providing any code for this algorithm. The basic operation has been outlined above, however ↩